NB: This is a sponsored post with the good people from GARDENA NZ, who have generously made this project possible.
Over the winter I have had a few side hustles going on beyond the realm of my garden that have occupied huge swathes of my time. This has left me with very little to say about my garden. Aside from ticking over with the restoration weeding with my handy helper, not a lot else has been going on. But at the same time, I have been extraordinarily busy, and I feel like I can say with confidence that it has been my most productive winter ever – just not in the main garden, aside from the weeding.

Today I took a big fat marker pen and drew a satisfying line through a winter project that has taken an enormous amount of time. There is nothing like crossing something big off a ‘to do’ list, especially if it has been waiting in the wings for months and months.
This project was done in conjunction with the good people at Gardena and as always is a joy and a pleasure to do projects with them. We used Neta irrigation supplies and a GARDENA water timer and water distributor. But this time was even more special as I had the opportunity to set up an irrigation system in my Mum’s garden. My mum is not only a fantastic, passionate gardener, she is an amazing artist who paints and draws beautiful images of our native NZ bush with environmental messages woven through. She has a gallery at the front of her home which is the cutest turn of the century cottage with a backyard exploding with beautiful plants. To free up some of the time she spends watering the garden in the growing season, so she can create more stunning art, it made sense to set up some irrigation.

But long before I could set up the irrigation, I needed to make a plan. This wasn’t the easiest thing to do long distance as I had to work out where all the garden beds were and find out how big they were. I sent Mum out into the garden with my rough plan sent across the internet and asked her to make a few measurements, and then a couple more and just a few last ones until I had enough information to make an accurate plan of the layout of her garden.

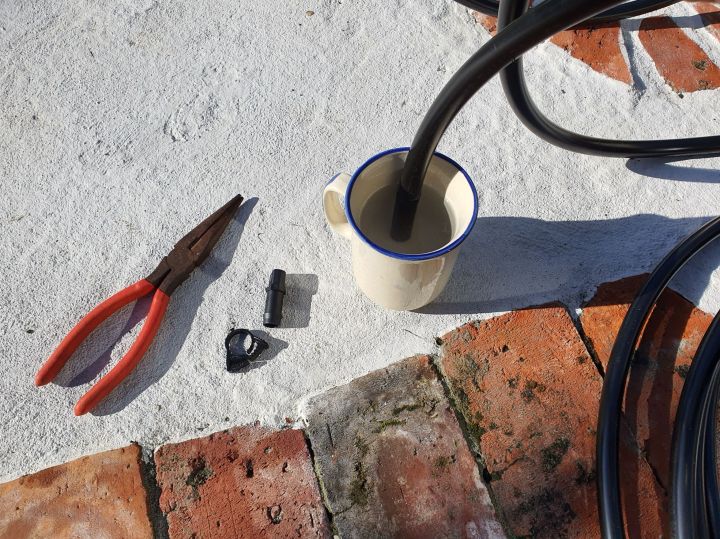
I also needed to get her to do the bucket test. I explained to her she needed to time how long it took to fill a 9L bucket, so I could work out her flow rate. It took 22 seconds and using the handy chart on the Neta website, her flow rate was 1325L per hour. This is important to know when planning irrigation because it helps determine how many sprinklers or drippers can be used in a line of irrigation.

The next step was to decide what kind of sprinklers she needed in her garden. I decided across the flower borders, jet sprayers would work best as it would fling the water across the garden, beyond any obstacle to cover more ground. However, some parts of the garden were deeper than others.

To get a good even coverage, adjustable sprayers made perfect sense, so they could be opened up to reach up to 1.8m and closed down for the narrow parts so it didn’t waste water on the fence or the path. In the deepest curves I allowed for two sprayers, so the front and the back of the border received an even coverage when fully open.

For her small vegetable patch, drippers made more sense as for many vegetable crops it isn’t desirable to wet the leaves, or you could invite fungal diseases. Here, drippers made sense. As a vegetable patch is often being worked with the addition of fresh compost or digging up potatoes etc, it is handy to have irrigation that can be easily lifted out of the way, and then replaced when the job is done so I included in-line drippers in the plan.

Across the front of her place, beside the public footpath she had a lovely row of lavender and I thought it best to use drippers here to hydrate the soil as a jet spray could end up spraying unwitting pedestrians.

Once I had the plan and the flow rate, I worked out she had four zones and so four lines with up to 22 drippers or sprayers would have enough pressure to have them all working well. From there I worked out the rest of the supplies, the 13mm poly pipe and the 4mm tubing, the end stops, elbow and T joints, not to mention the all essential rachet clips to secure the connectors and the rigid pipe stakes to keep the pipes in place. Once I had everything I needed I set off to do the job.

My mum lives 6 hours south of me so it was a bit of a road trip, timed perfectly between two forecasted storms which turned out to be stunning weather although a little chilly. Over three days, I toiled away in the garden, following the plan. For the most part it came together perfectly. Although she had a lot more concrete about the place than I remembered, and I had to make a couple of tunnels beneath two paths by using a hose to force water to carve out the soil. It was a cold, wet job but so satisfying to break through to the other side of the path.

Once all the irrigation supplies found their place into the garden, I brought the four lines together to meet at the water distributor and the water controller and programmed it so come the warmer months her garden will be watered regularly, before she even gets out of bed!

After checking everything worked properly, I cleared up my mess, packed up my gear and headed home, to get on the other projects on my winter list, satisfied with a job well done.
Come again soon – spring is beginning to breath down my neck.
Sarah the Gardener : o)
NB: If you want to find out more about anything mentioned here check out:
Mum’s art: https://www.facebook.com/AllomesPauline
GARDENA NZ for all the cool things they have to help out in the garden: https://www.gardena.com/nz/
The irrigation supplies: https://www.netagarden.co.nz/products/category/irrigation
And for a great irrigation planner: select the download tab and click on the ‘Neta DIY Irrigation Planner’